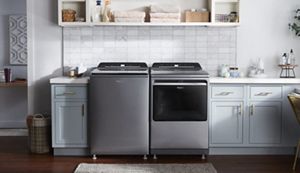
How to install a washing machine
Whether you’re buying your first washing machine or replacing an old one, you might need help hooking your washer up including plumbing installation. To learn how to install your top load or front load washing machine, as well as any supplies and tools you may need, read this step-by-step guide.
Always consult your machine’s installation manual, since installation instructions, as well as washer and dryer measurements vary. Use this guide as a general overview, but consult your manual for specific instructions and information.
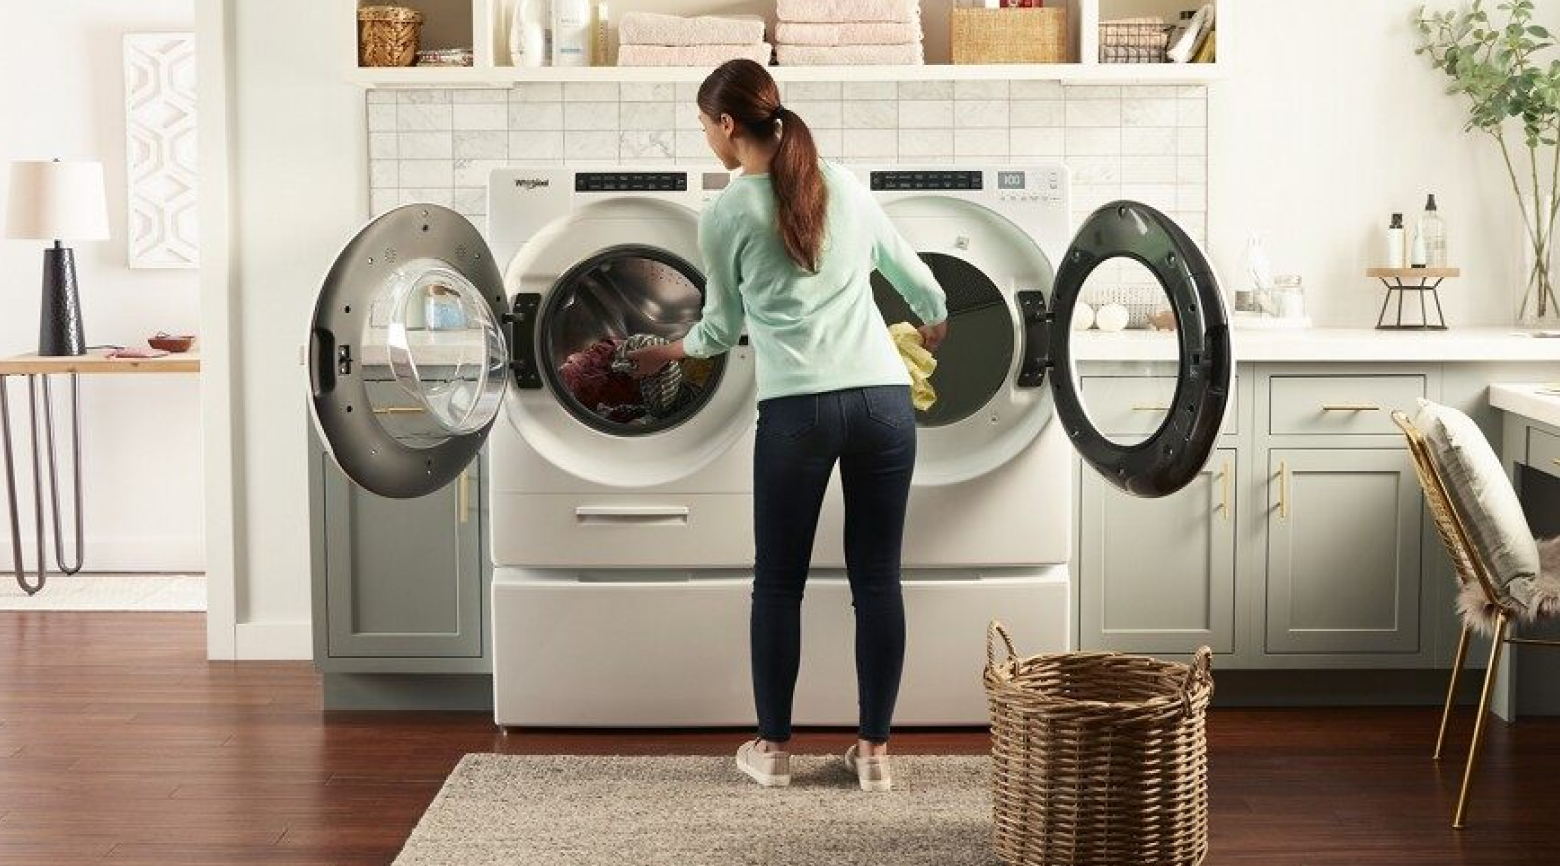

Installing a washing machine:
step-by-step instructions
This guide assumes that your laundry area has the appropriate power outlets, water supply and drainage for your washing machine. If you need to install power or plumbing, you may want to consult a professional before installing your washing machine. See your washer’s installation instructions for more details.
How to install a new Whirlpool® Washing Machine: Video overview
How to install a Whirlpool® Top Load Washer
How to install a Whirlpool® Front Load Washer
Supplies and tools you’ll need to install your washing machine
Supplies:
- Drain hose
- Transport bolt hole plugs (depending on the model)
- U-shaped hose form (if needed)
Tools:
- Hot & cold water hoses with flat washers
- Adjustable wrench that opens to 14mm
- Socket wrench
- 1 3/4" pliers
- Level
- Ruler or measuring tape
- Wood block
- Bucket
- Flashlight
- Utility knife
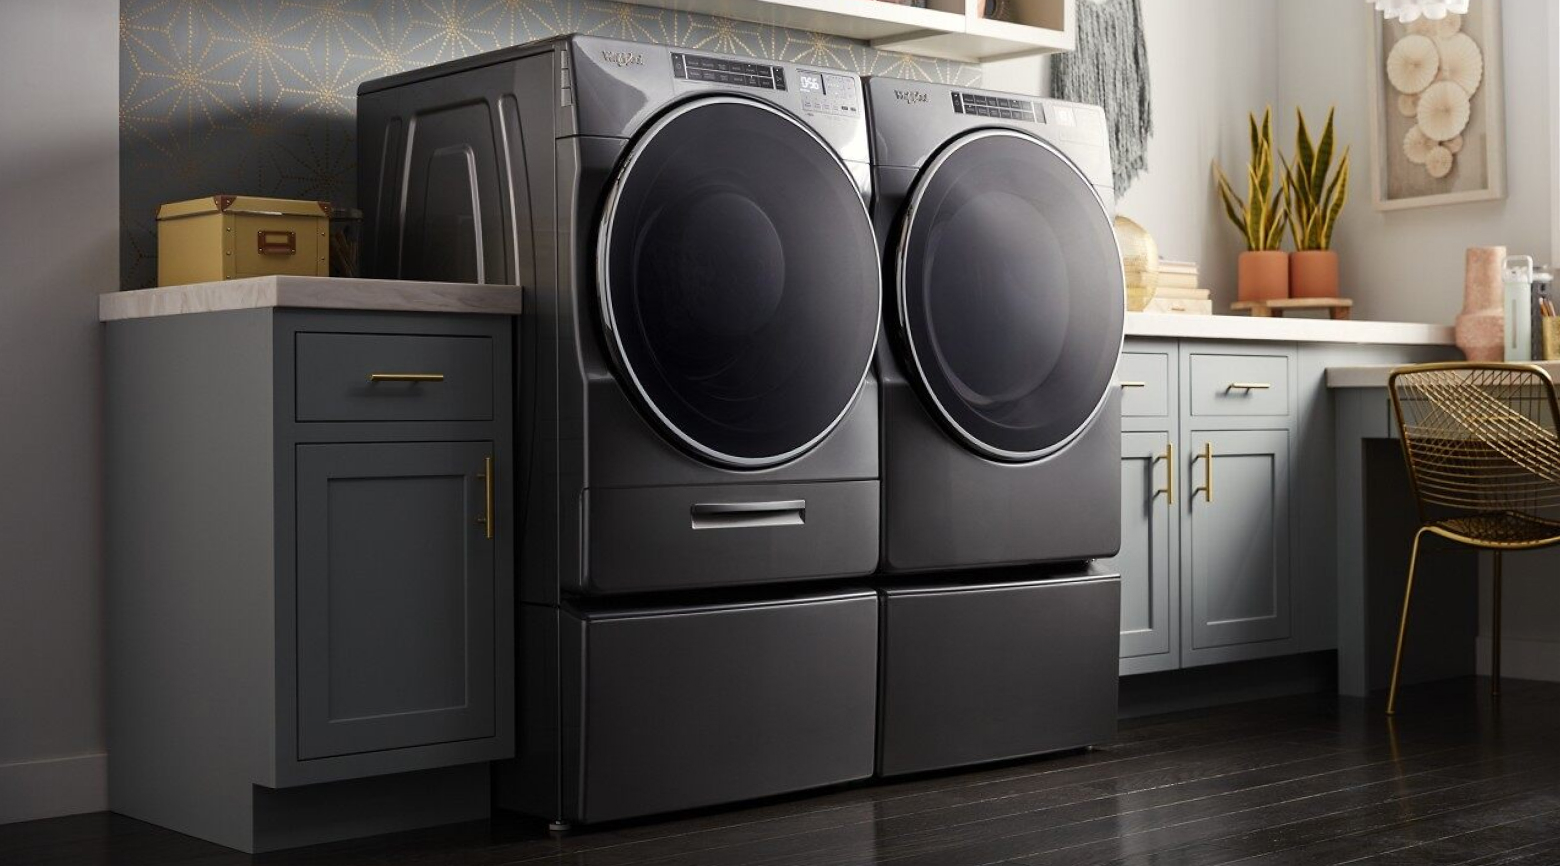

Step 1: Prepare your laundry space
Before installing your washing machine, you should prepare your laundry space. If you haven’t already, measure your space using your ruler or measuring tape to make sure your washer fits. Remember to make space for the door in front of your washer if you have a front load washer or above if you have a top load washer.
You should also inspect your water inlets, choose which type of drainage to use and confirm you have the right power outlet for your washer prior to installation.
Installation tip: Leave at least 1" of free space on each side of your washer, though some models require more space.
Step 2: Unpack your washing machine
Once your washing machine is near your laundry area, remove the packaging using your utility knife. Open the lid and remove any additional installation materials stored in the washer drum.
With the help of a friend, tip your washer onto its back and remove any additional packaging from the base. Then, remove the transport bolts (which keep your washer’s drum from moving during shipping) using your socket wrench and install the transport bolt hole plugs if necessary. Return the washer to its upright position.
Installation tip: Use the box from your washing machine to protect your floor during installation.
Step 3: Connect the drain hose
Depending on your model, you may need to unwind your washer’s drain hose pipe and/or power cord. Take the drain hose and connect it to your standpipe drain, sink or other drainage source. You may need to use a u-shaped hose form or other parts to attach your drain hose to the drain itself. Make sure that your drain hose is not kinked or otherwise blocked.
Step 4: Connect the water inlet hoses
To connect your washer hookups to your water supply, start by attaching the water inlet hoses to the water source using your pliers or wrench. Not all washing machines include water inlet hoses, so you may need to purchase them separately. If you’re using your existing hoses, be sure to inspect them for wear and damage. You may want to run water through the inlet hoses and into a bucket for a few seconds before connecting them to avoid clogs in the hoses. Then attach the water inlet hoses to the back of your washer and tighten them with your pliers or wrench. Finally, turn on the water to check the inlet hoses for leaks.
Installation tip: Water inlet hoses should be replaced every 5 years of use to reduce the risk of hose failure. Periodically inspect and replace inlet hoses if bulges, kinks, cuts, wear or leaks are found. Read more about potential causes of washer leaks here. When replacing your inlet hoses, mark the date of replacement on the label with a permanent marker, check that the old washers are not stuck on the washer inlet valves and use new washers in the new inlet hoses to ensure a proper seal.
Step 5: Level your washer
Next, shift your washer into place and level it. Be sure your washer is sitting with all four feet on the ground and does not rock back and forth. Make sure your washer is balanced by placing your level both front to back and side to side.
Installation tip: If you need to adjust the feet of your washer, prop it up using a wood block and adjust the feet with your wrench.
Step 6: Plug in your washer
Once your washer is in place and level, plug it into the wall. Depending on the make of your washer, you may need to follow additional installation instructions before running your first load of laundry. Consult your owner’s manual for additional information about your specific washer.

Washing machine installation FAQs
Can I install a washing machine by myself?
It’s recommended to use two or more people to move and install a washing machine due to its weight.
What plumbing is necessary for a washing machine?
All washing machines require some plumbing installation: a water source and some form of drainage. Most washers require both a hot and cold water intake and a standpipe drain, sink or other drainage source.
What do I need to hook up a washing machine?
To hook up a washing machine, you will generally need two water inlet hoses, a drain hose, some transport bolt hole plugs, a u-shaped hose form and some tools. We recommend having the following handy: an adjustable wrench, a socket wrench, pliers, level, ruler or measuring tape, wood block, bucket, a flashlight if your laundry area is dark and a utility knife.
Shop top Whirlpool® washers
Share
Discover more from Whirlpool Brand

home heartbeat
Ready for more tips, home hacks and appliance guides?

