
How to clean a dryer lint trap slot
Cleaning the lint trap and slot is an important part of maintaining your dryer. When the lint trap is blocked by lint, drying time can increase, slowing down laundry day. Knowing how to clean the lint trap after each load can help keep your dryer working optimally and your laundry routine more time-efficient. Read on to learn how to clean your lint trap and slot.
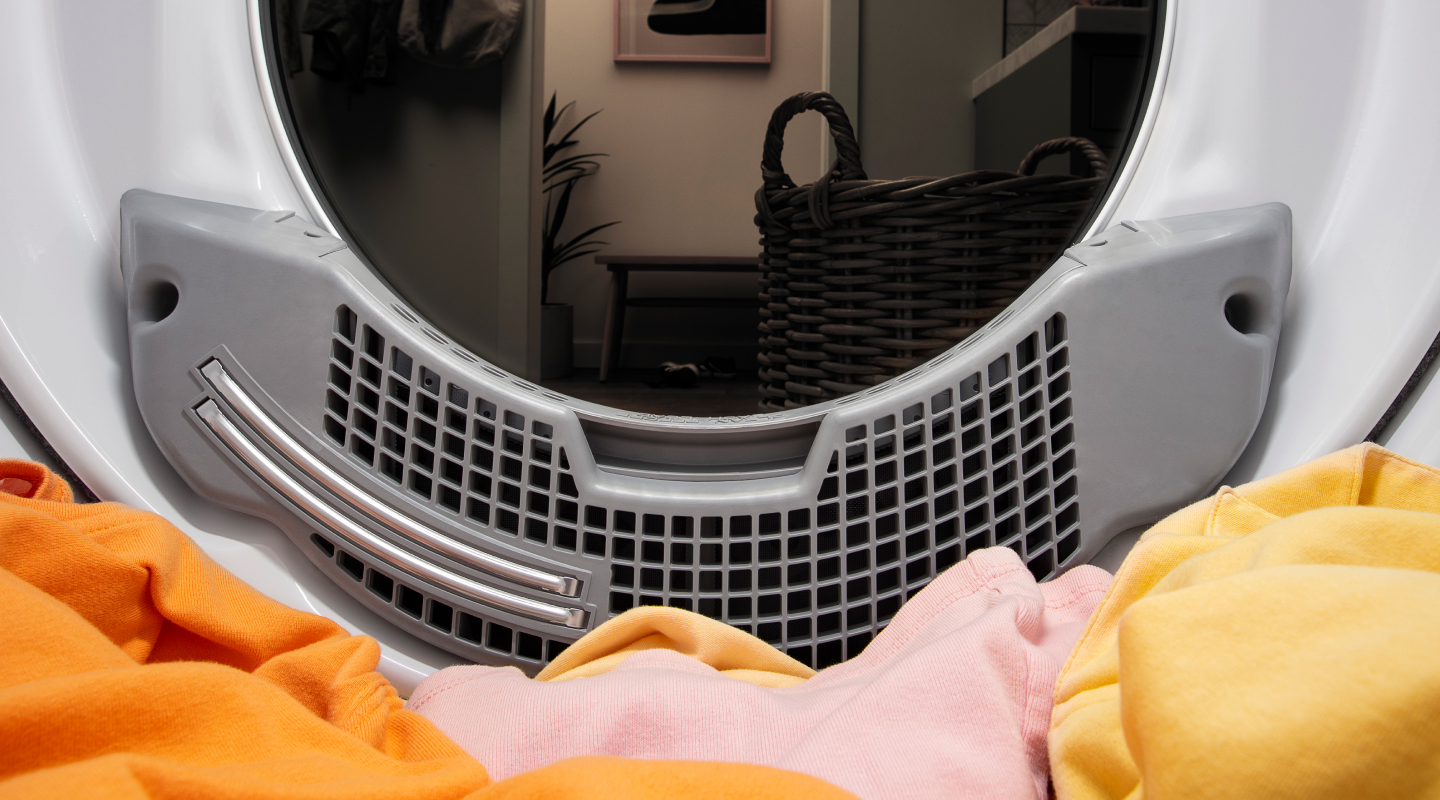
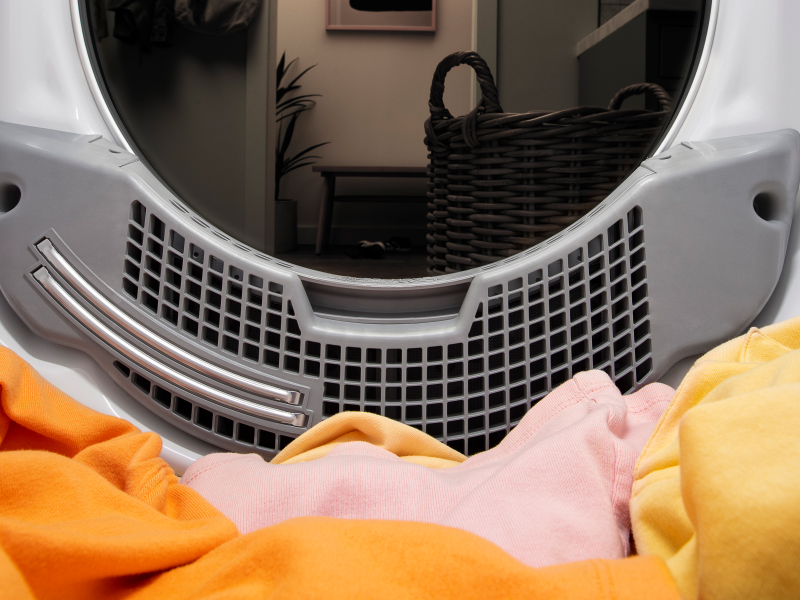
Where is the lint trap on a dryer?
On a front load dryer, the lint screen is usually inside the door in front of the dryer drum or on top of the dryer in front of the controls. Top load dryers may have a lint screen inside the door or on top of the dryer in front of the controls, as well. Combo washer and dryer units sometimes have a lint screen inside the door. Oftentimes, though, combo washer and dryer units do not have a lint trap.
You can also consult your user manual or product guide to locate your dryer’s lint trap or ensure it doesn’t have one.
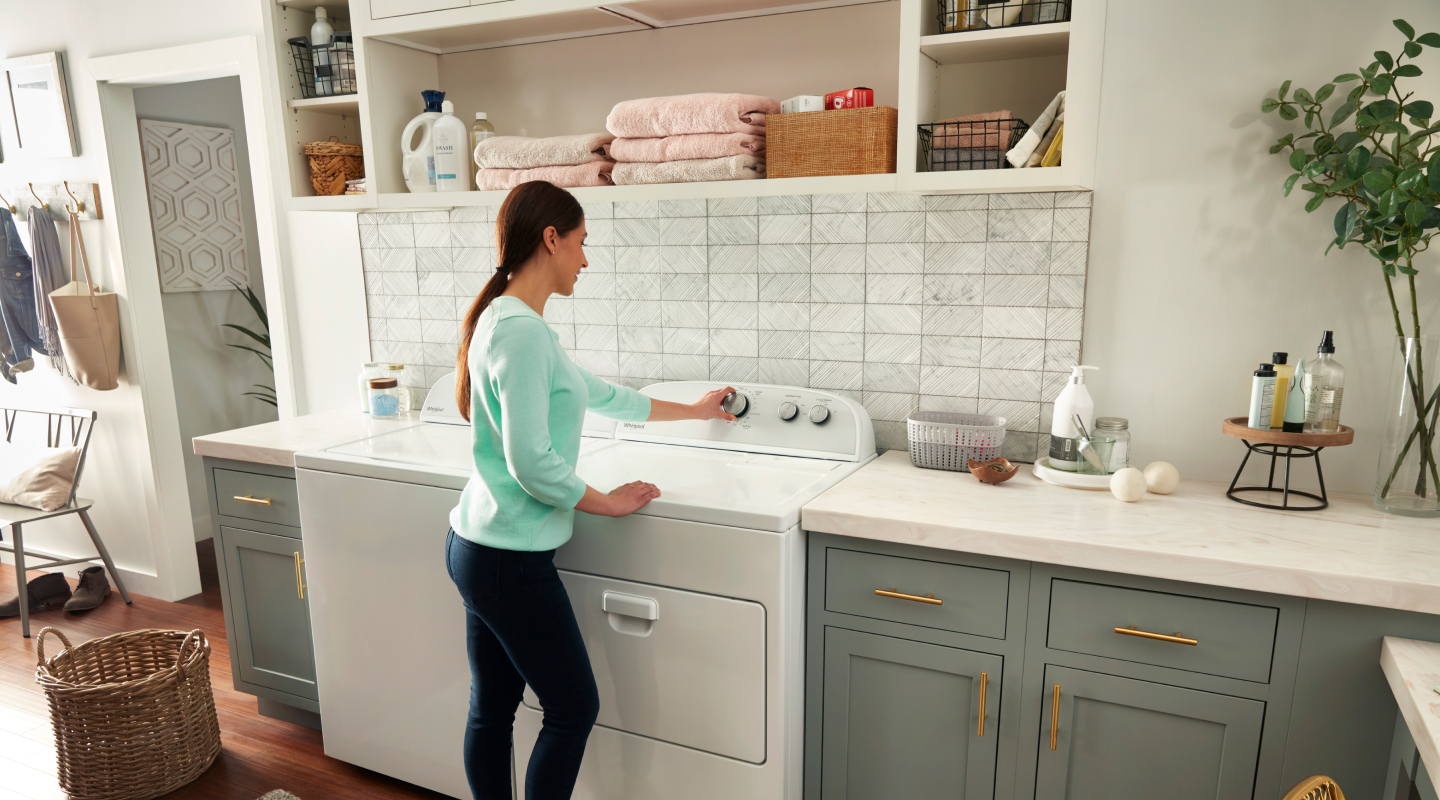
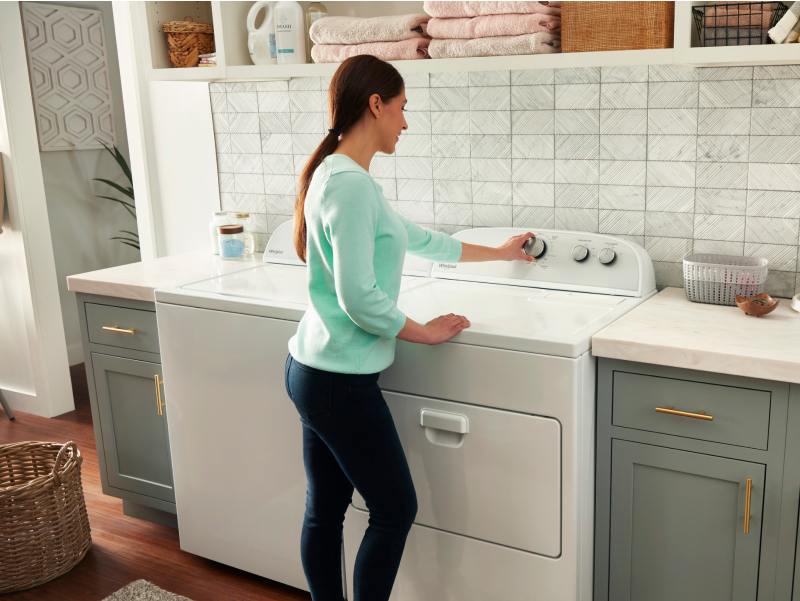
Cleaning a dryer lint catcher: step-by-step guide
To ensure optimal drying, remove debris from your lint trap after each load. As-needed you can conduct a deeper cleaning of the lint trap, in which you use a nylon brush, detergent and water to remove residue. The slot where the lint trap is inserted should also be cleaned to prevent lint build-up inside.
Supplies and tools
Nylon laundry brush
Detergent
Water
Vacuum with crevice attachment

Step 1: Remove lint screen
If the lint screen is on top of the dryer, remove it by pulling it towards you. If your lint screen is in the front of the dryer, open the door and pull the lint screen straight up.

Step 2: Remove lint with your fingers
Using your fingers, roll the lint from the screen. Dispose of the lint. Do not use water to remove lint from the screen.

Step 3: Vacuum inside lint trap opening
Using a vacuum crevice tool, such as this one from Whirlpool brand, carefully clean inside the lint trap slot to help further ensure proper air flow. You can also use a dryer cleaning brush from Whirlpool brand during this step.

Step 4: Inspect your lint screen for residue
Fabric softeners and laundry detergents can cause build-up on the lint screen over time. Approximately every 6 months, inspect your lint screen for residue.

Step 5: Clean residue if needed
If your lint screen has residue on it, clean it by wetting a nylon brush with hot water and liquid detergent. Scrub both sides of the lint screen, and then rinse each side thoroughly with hot water. Inspect the lint screen to be sure you have removed all residue. Repeat as needed. Dry the lint screen fully.

Step 6: Put lint screen back in dryer
Align the lint screen with the opening in the dryer and push it in until it is fully in place.

Step 7: Clean dryer vent and duct, as needed
If you notice dry times are slower, clothes aren't getting dry, or you can't feel air moving through the outside vent, your dryer's exhaust vent may be clogged. You can clean the dryer vent yourself, but you can also schedule a service appointment if it's difficult to find or access your dryer duct and outside exhaust vent.
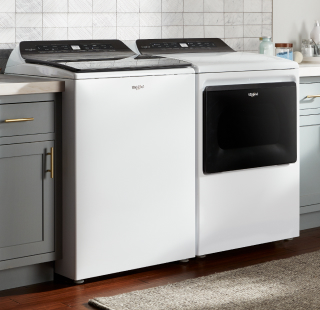
Learn more about different types of dryers
How do lint traps work?
The warm air inside the dryer picks up lint from the tumbling clothes. The air passes through the lint trap’s mesh filter as it exits the machine though the dryer vent. By doing this, it prevents the lint and fluff from becoming trapped in the dryer's exhaust hose.

AccuDry™ Sensor Drying Technology
Help prevent overdrying your family's laundry
Two built-in sensors measure moisture and temperature levels to automatically stop the cycle when the load is dry
Why is my dryer lint trap always full?
If you are washing your clothes on a longer cycle than they need, using a higher water setting than necessary, or overloading your washer, you might find that your clothes have excessive lint, and your lint trap is always full.
To reduce the amount of lint on your clothing, you can shorten your wash time for smaller loads and lightly soiled garments. You can also allow the washer to determine the water level needed or choose only the level of water needed to cover the load. Loosely loading your garments no higher than the top row of holes in the washer can also help your clothing produce less lint.
How often should you clean your dryer lint trap?
Clean your lint trap after every load. Perform a deeper clean on the lint trap and slot approximately every 6 months, especially if your dryer isn’t drying clothes properly.
Where does lint build up in a dryer?
Aside from the lint trap and slot, lint can also build up in the dryer’s drum, vent and duct system. You can clean these areas of your dryer yourself, as needed, to remove lint and help keep your dryer in optimal working condition.

Whirlpool® Dryers
Give clothes the optimal dry
Explore top load and front load dryers in gas and electric to find the best option for your home
Browse Whirlpool® dryers
If you are ready to upgrade your dryer, Whirlpool brand has a wide variety with features for convenience, efficiency and functionality.


Helping kids stay in school
Learn how Whirlpool helps end the dropout cycle by giving kids access to clean clothes through the Care Counts™ Laundry Program
Was this article helpful? Pass it on
Explore more from Whirlpool brand


home heartbeat
Ready for more tips, home hacks and appliance guides?


