
How to stack a washer and dryer
Living in tight quarters doesn’t prevent laundry from piling up. When you live in a space with less square footage like an apartment or condo, a stackable washer and dryer pair is essential for keeping your home tidy since they take up less room and can even be installed in closets. To learn how to stack your current front load laundry pair or a new one, read this step-by-step guide on how to stack a washer and dryer.
Note: Always consult your machines’ installation manual, since stacking instructions, as well as washer and dryer measurements vary. Use this guide as a general overview, but consult your manual for specific instructions and information.
For more options, take a look at smart washers and dryers from Whirlpool.
Supplies you’ll need:
- Washer and dryer stacking kit
- Cardboard
- Friend for help
Tools to have on hand:
- Phillips screwdriver
- Adjustable wrench
- Level
- Tape measure
- Owner’s manual or installation instructions
Step 1: Ensure your washer and dryer can be stacked
Before starting the task of stacking your washer and dryer, consult your owner’s manual, since only some front load washers and dryers are compatible to stack. If you’re shopping for a new washer and dryer, ask a salesperson if they’re stackable, and check out Whirlpool® Stackable Washers and Dryers to find the right pair for you.
Can you stack any washer and dryer?
Avoid stacking a washer and dryer if they’re not specifically designed to be stacked, especially if they’re not made by the same manufacturer as it can void the warranty. It can also be dangerous to stack a dryer on top of a washer that isn’t compatible, since the vibration can cause the dryer to move and potentially fall, risking property damage as well as personal injury.
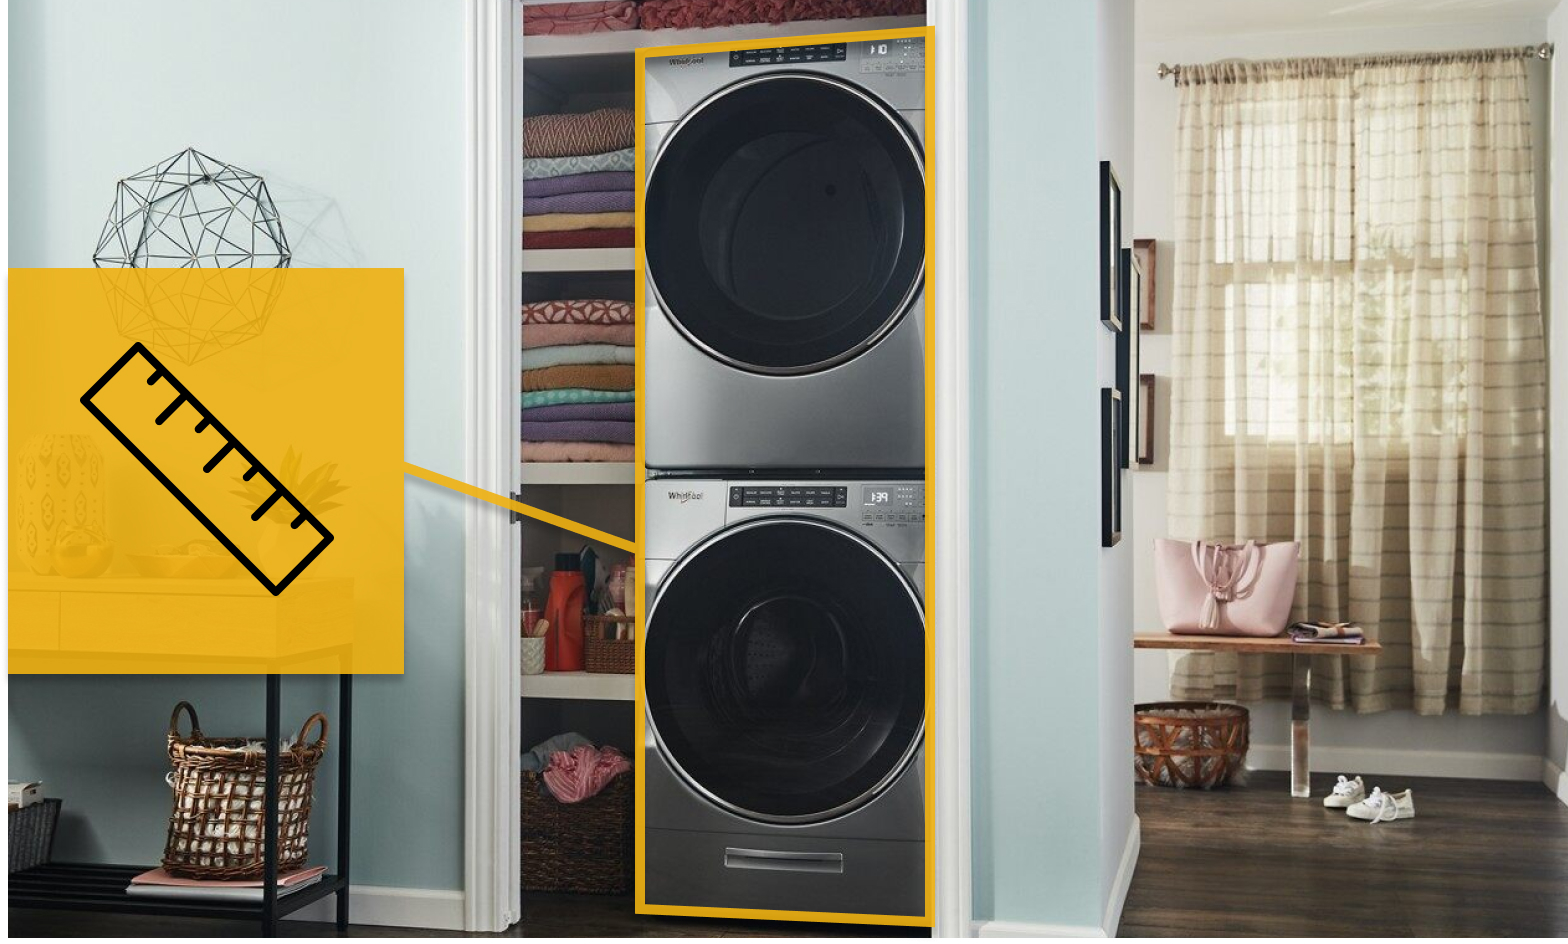

Step 2: Measure your space for stacking a washer and dryer
Before you get started, measure the space you want to use for your washer and dryer to make sure they’ll fit properly. You’ll want at least 5 inches of space between the rear of the washer and the wall, and at least 1 inch of space between each side of the washer and the wall if you’re installing in a closet, depending on your models.
Both washer and dryer doors should be able to open fully, and closet doors should have about an inch of space from the bottom of the closet door to the floor to help with air circulation. If a closet door or louvered door is installed, top and bottom air openings in the door are required.
Exact requirements may vary by model and brand. Always refer to your model’s s installation instructions or information on the manufacturer’s website.
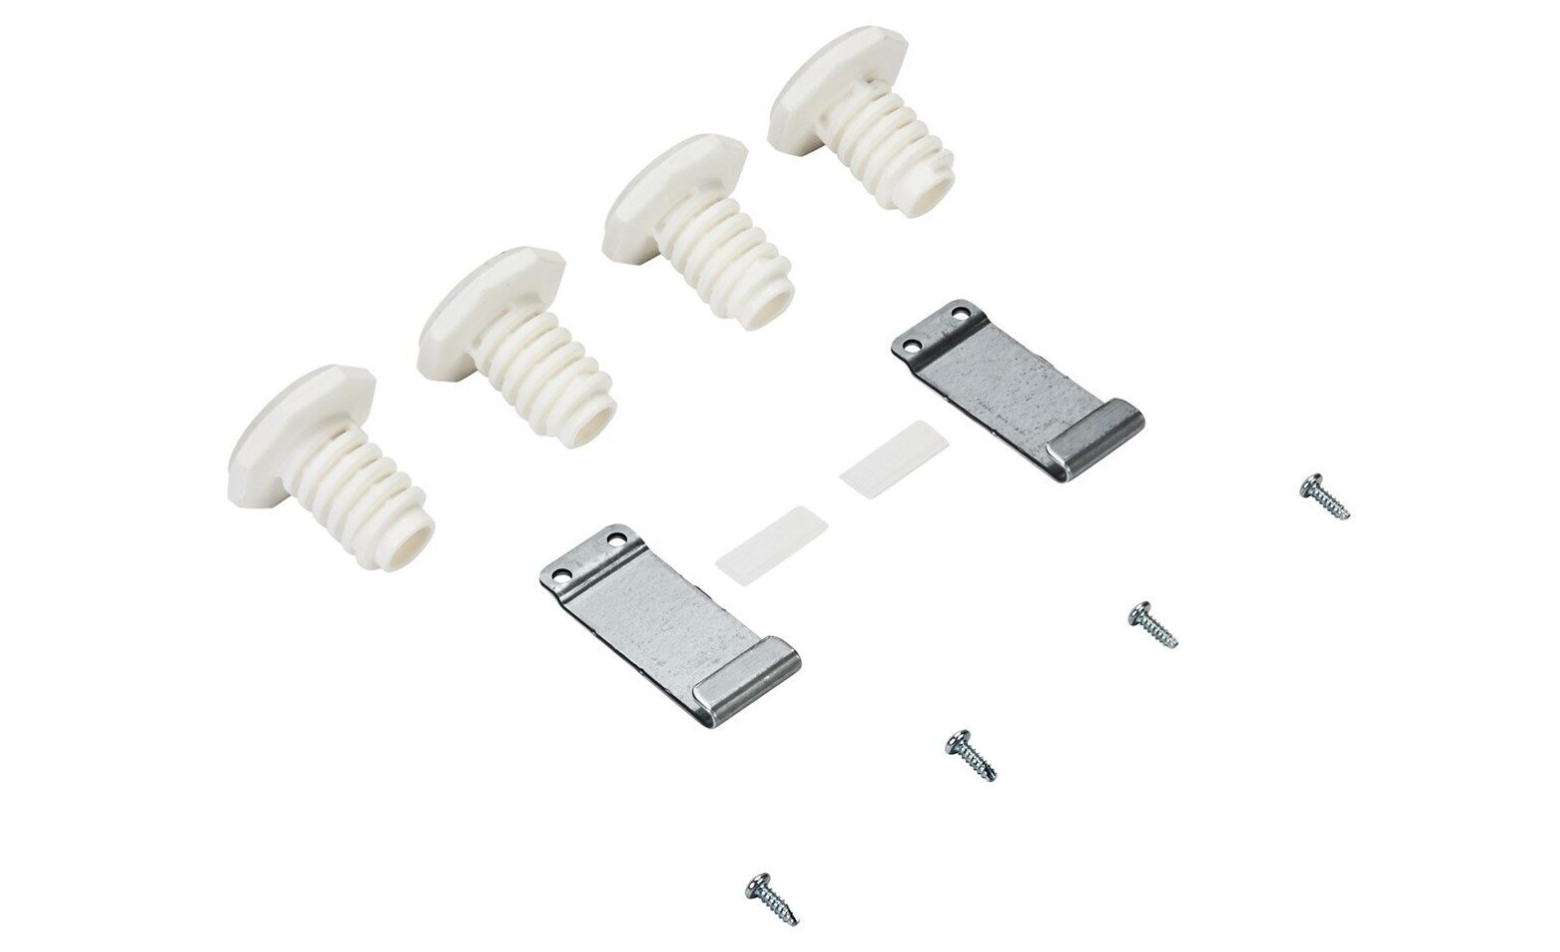

Step 3: Purchase a washer and dryer stacking kit
Now that you have all your measurements and dimensions squared away, you’ll need to purchase a stacking kit made by the same manufacturer as your washer and dryer. The kit will include a few bolts, screws and brackets to secure everything together.
Shopping Tip: A stacking kit is essential to stacking your washer and dryer safely and correctly. Not all models stack the same, so pay particular attention to purchasing a kit that is made by the same manufacturer and intended for your models.
Shop Whirlpool® Washer and Dryer Stacking Kits
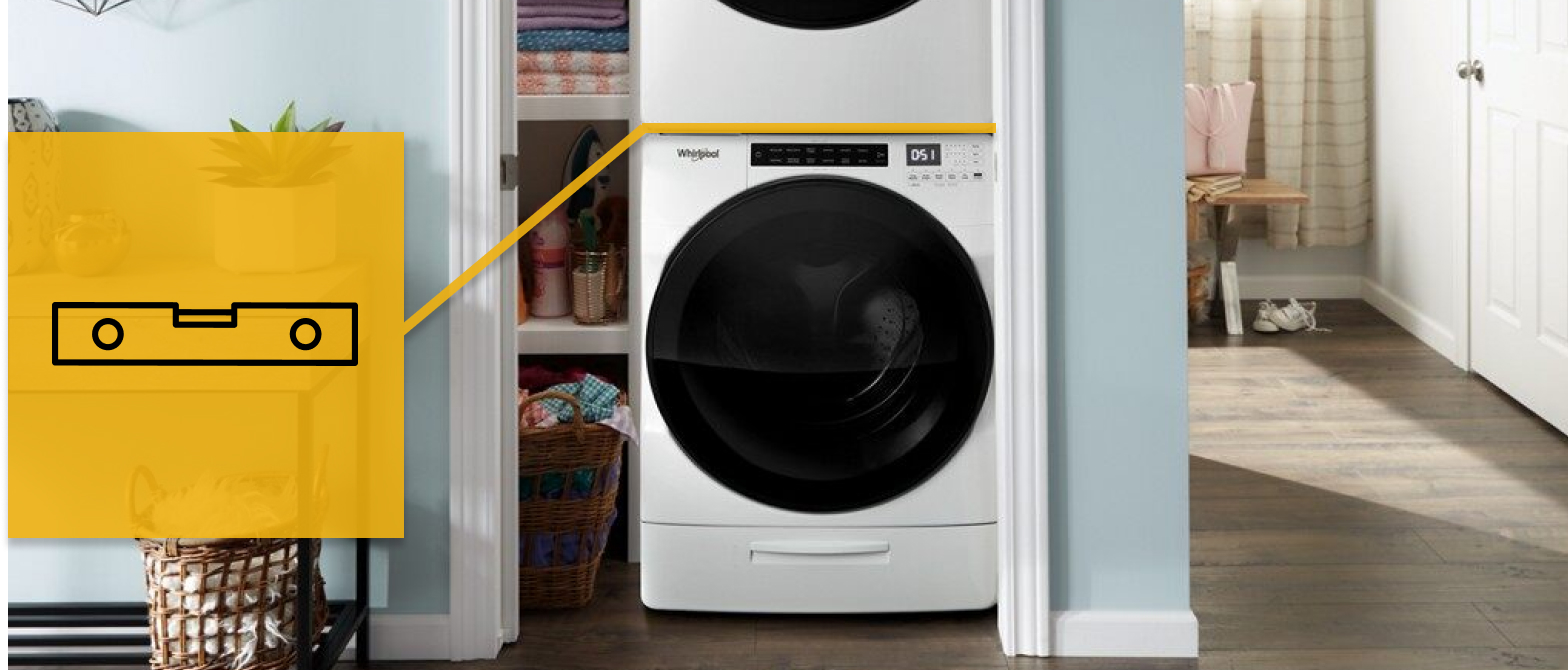

Step 4: Place your washer and check levelness
Move your washer to its installation spot, leaving enough room to work behind to finish installation. Use a level to make sure the washer is level from side to side and front to back. If it’s not, tilt back the washer with the help of a friend, and adjust the leveling legs with a wrench.
Rotating the wrench clockwise will shorten the legs and rotating counterclockwise will extend the legs. Make sure the washer is level before tightening the legs completely and repositioning your washer.
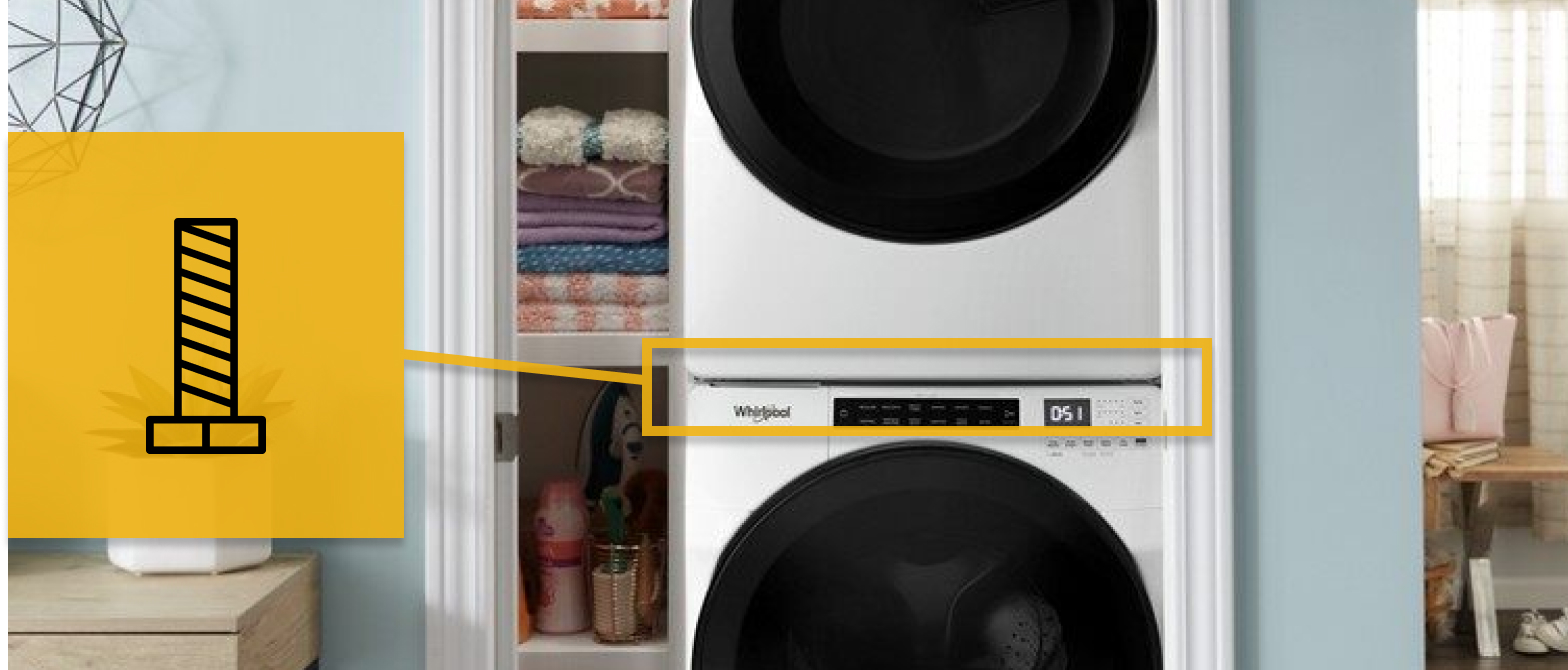

Step 5: Install the stacking feet on your dryer
Set a piece of cardboard on the floor and tilt your dryer onto its back, then use an adjustable wrench to remove the dryer feet, if it has any. If your kit comes with stacking feet, thread them into the dryer with a wrench, securing tightly. Carefully return your dryer to its upright position, and using the cardboard, slide the dryer in front of the washer.
Step 6: Lift your dryer on top of the washer
With the help of a friend, carefully lift the dryer on top of your washing machine. Position your dryer so the front and sides are flush with those of the washer and the rear of the dryer overhangs the rear of the washer slightly. The dryer should always be stacked on top of the washer, since dryers tend to be lighter than washing machines especially when filled with water.
Step 7: Attach clips and brackets
Your stacking kit may come with plastic clips. If it does, position the clips on the slots that are on both sides of the lower edges of the dryer. If you have difficulty opening the clips, use a flathead screwdriver to snap them open.
Push the hooked end of one of the brackets over one of the plastic clips, moving the dryer forward if necessary to align the washer and dryer. Secure the brackets tightly with the screws included in the kit using a Phillips screwdriver.
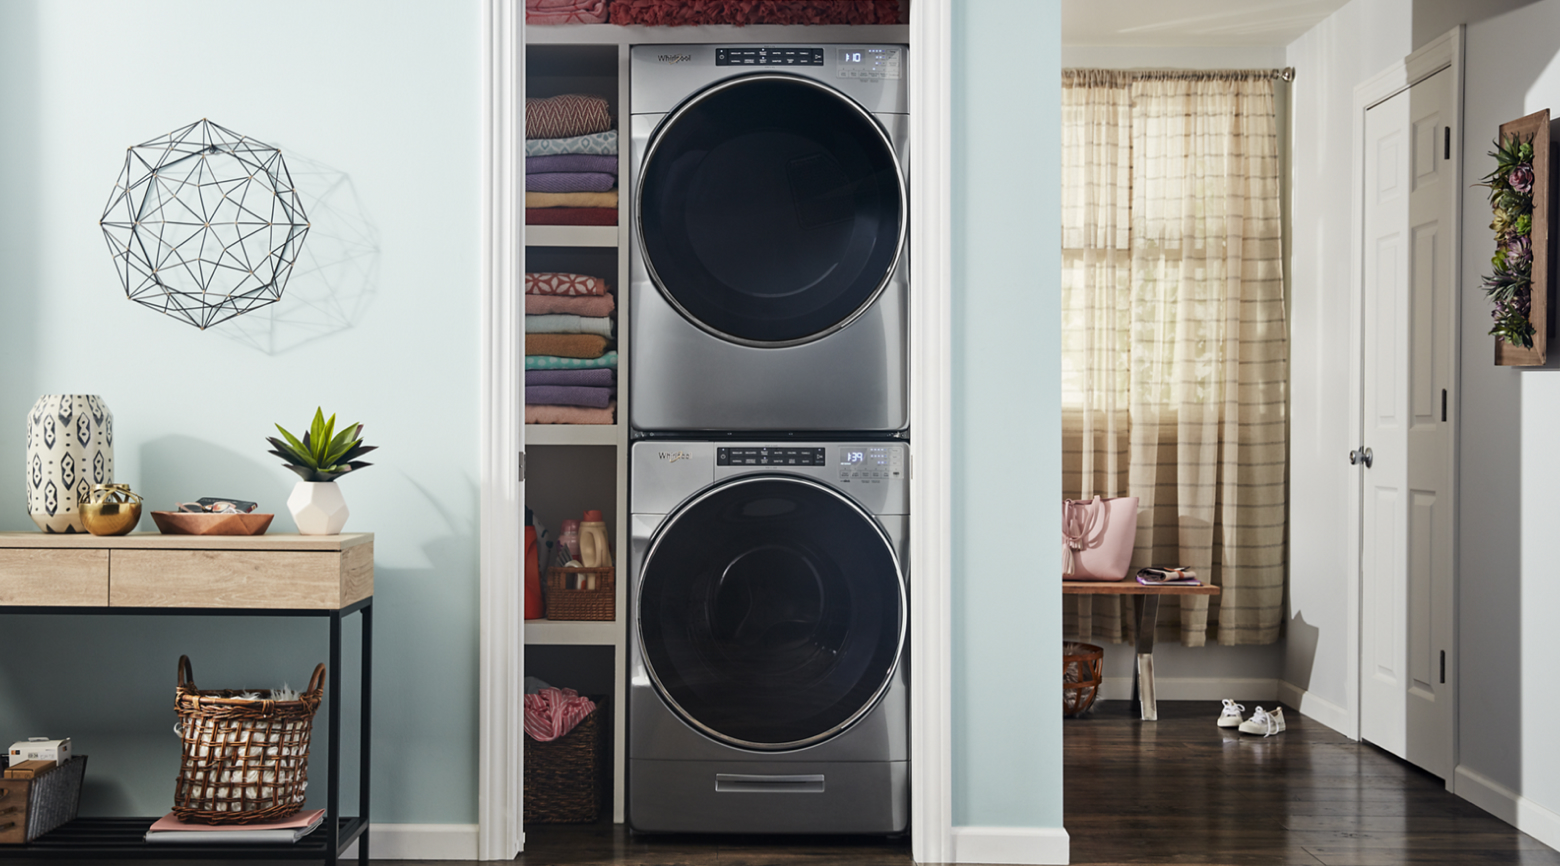

Step 8: Reposition your stacked washer and dryer
Once you’re sure that your washer and dryer are securely attached, reposition the washer and dryer in its spot and hook up your machines based on the owner’s manual or installation instructions, and that’s it!
Don’t worry—if you eventually decide you no longer want to have a stacked washer and dryer, or you move into a bigger space, stackable washer and dryers also have freestanding capabilities so you can dismount the dryer and place them side by side whenever you please. And for even more space-saving options, check out Whirlpool’s stacked laundry centers.
Shop Whirlpool® stackable washers and dryers
Shop Whirlpool® stacked laundry centers
Learn more about washers and dryers from Whirlpool brand


home heartbeat
Ready for more tips, home hacks and appliance guides?

