
How to do laundry in 8 steps: Laundry 101
Keeping clothes clean, fresh and ready to wear does not have to be as daunting as it sounds. Knowing the right ways to sort, wash and dry can go a long way in preserving the life cycle of your family’s favorite outfits. Take the stress out of laundry day and learn how to do laundry in eight simple steps. Learn how to organize your laundry room in this guide.


How to wash and dry clothes
Learn how to make laundry day a bit easier with these tips and best practices for washing cycles, dryer settings and more. When in doubt, always refer to your garment’s care tag for specific laundering instructions.
Supplies
Laundry detergent
Dryer sheets
Laundry basket
Stain remover
Tools
Washing machine
Dryer
To ensure you’re keeping your family’s clothes fresh, check out Swash® Laundry Detergent from Whirlpool Corporation for your laundry routine.1
Step 1: Read your garment’s care tag
The first step to doing laundry is to read the care tag for specific instructions on the water temperature and washer and dryer cycle and settings that clothes may be washed with in order to provide the right care for your clothing.
- Make sure to empty all pockets.
Fasten any zippers or buttons to help prevent lint and pilling.
Step 2: Sort and separate laundry
Next, prep your clothes and sort by color and fabric type or the recommendations on your garment’s care tag. Make sure to keep similar colors in their own load, as well as heavy fabrics sorted together. To keep colors from bleeding onto one another, sort your laundry by:
Whites - white clothing without patterns or embroidery
Lights - white clothing with patterns or embroidery, light shades of yellow and other pale tones
Brights - any bright red, yellow, orange, green or light blue clothing
Darks - sort dark blue and purple together & black and brown clothing together
Knowing how to properly sort and wash clothing of any color can go a long way in keeping its original hue and helping to prevent clothes from fading.

Step 3: Load laundry into the washer
After you have fastened any zippers or buttons and sorted your laundry, your clothes are ready to be washed. Loosely load your clothing into the washer, and make sure they are evenly dispersed in the drum to help balance the washer. Be mindful to not overload the washer as the clothes need room to move against the impeller or agitator to get cleaned, depending on your style of washer. Overloading a washer can cause the washer to shake or wobble as well.
Step 4: Add laundry detergent
Check the manufacturer’s instructions on your laundry detergent for load recommendations. The amount may vary depending on if you are using liquid or powder detergent.
Add the recommended amount of laundry detergent based on the type of laundry detergent you’re using.
If using laundry pods or laundry detergent sheets, toss one into the drum of the washer.
Let your appliance handle this step with the Load & Go™ XL Dispenser on some Whirlpool® washers that allows you to fill it and skip refills for up to 40 loads.2
TIP: If your clothes have detergent stains from a previous load, don’t worry - you can remove detergent stains with a few simple tips.

Step 5: Choose a washing cycle
Depending on your fabric type and the instructions on your care tag, select your desired washing cycle. Generally, washing clothing in cold water can help prevent garments from shrinking and pilling, while warm water can help remove stains and soils that are temperature dependent.
Refer to your owner’s manual for your washer’s specific cycles and settings. Below are generally recommended wash methods and cycles for common fabrics and colors. As always, please refer to the care tag on the garment that you are washing.
Cotton & Linen - normal cycle
Denim - gentle, normal or jeans cycle
No-Iron Dress Clothes - permanent press or synthetics cycle
Sweaters or Wool - wool, delicate, gentle cycles or wash garments by hand
Athletic Wear - permanent press or sports cycle
Delicates - delicate, gentle cycle or wash garments by hand
Coats & Jackets - bedding and sheets, or bulky cycle
Towels - bulky, heavy duty or towels cycle
Bedding & Sheets - bulky or sheets cycle
Bright & Dark Clothes - colors, darks or cold water wash
Whites - normal cycle or whites cycle
Care Tip:
Adding bleach to a washing cycle of white clothing without patterns or embroidery can help preserve the vivid shade. Please refer to directions on the bottle for full instructions on the use of bleach, and always follow the care tag on the garment.

Step 6: Dry laundry in a dryer or air dry
After the washing cycle is complete, promptly unload the washer and air dry your garments, toss them in the dryer or choose a combination of both, depending on your load.
If using the dryer, place a dryer sheet into the drum to help prevent static and clinging.

Step 7: Choose a drying cycle
Refer to the instructions on your garment’s care tag for optimal dryer settings, including tumble dry, permanent press or air dry recommendations. Remember, heavier fabrics, such as towels or jackets, need higher heat or more time to dry. It’s important to separate these from more delicate fabrics in order to help keep clothes from shrinking.
Consult your owner’s manual for specific cycles and settings for your dryer. Below are general guidelines for common fabrics and colors:
Cotton & Linen - normal or cotton setting
Denim - jeans or damp dry cycle; air dry
No-Iron Dress Clothes - steam dry, wrinkle control, permanent press or less dry setting
Sweaters or Wool - delicate or less dry setting
Athletic Wear - delicate or less dry setting
Delicates - air dry, delicate or less dry setting
Coats & Jackets - bulky, heavy duty or more dry setting
Towels - towels or heavy duty setting
Bedding & Sheets - bulky cycle
Brights, Dark & Whites - dark, colors or whites cycle
Whites - whites setting
Step 8: Fold or hang clothes once dry
As soon as your clothes are dry, promptly remove them from the dryer. To prevent wrinkling, hang or fold your clothes right away. This also helps to avoid any future headaches when searching for a certain outfit or item.
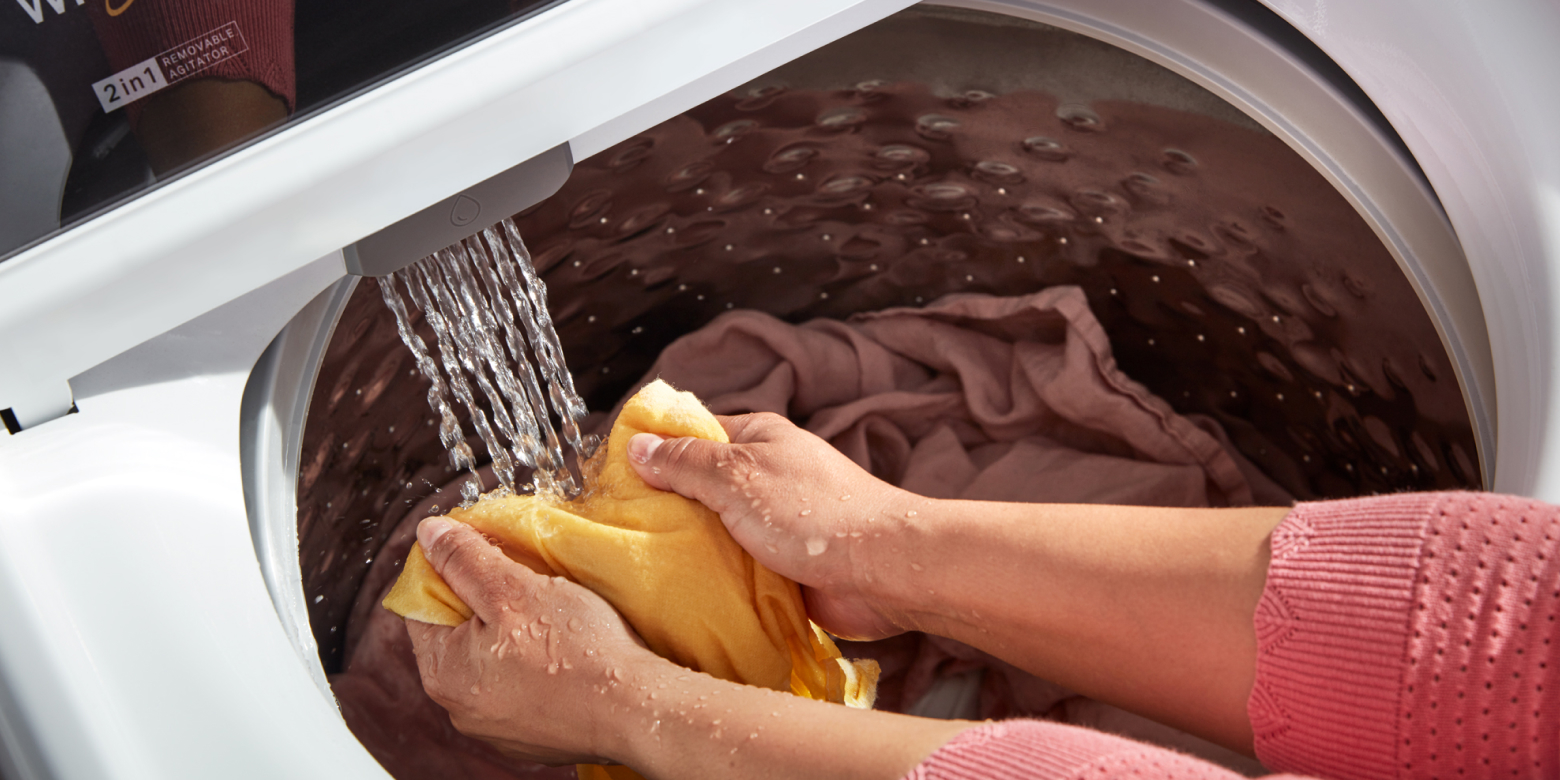

Pretreat stains before washing
The best way to help get rid of any stain—whether it’s makeup, paint or berry stains—is to immediately treat it before it settles into your clothing. Using a stain remover, treat the soiled spot from the underside; this helps to force the stain out of the fabric, rather than through it. Some Whirlpool® Washers even include a convenient Pre-Treat Station, allowing you to tend to stains in one spot with a built-in faucet and brush. Learn more about how to treat tough stains, including stains from nail polish and makeup.
Be mindful to always follow the manufacturer’s instructions on any stain removal product. As a best practice, consider testing out the product on a hidden part of the garment to avoid any further stains.
After pre-treating, follow the washing instructions on your garment’s care tag. Don’t have a stain remover at hand? Not to worry. Laundry detergent can be used as an effective pre-treatment for many types of stains, including dried paint.
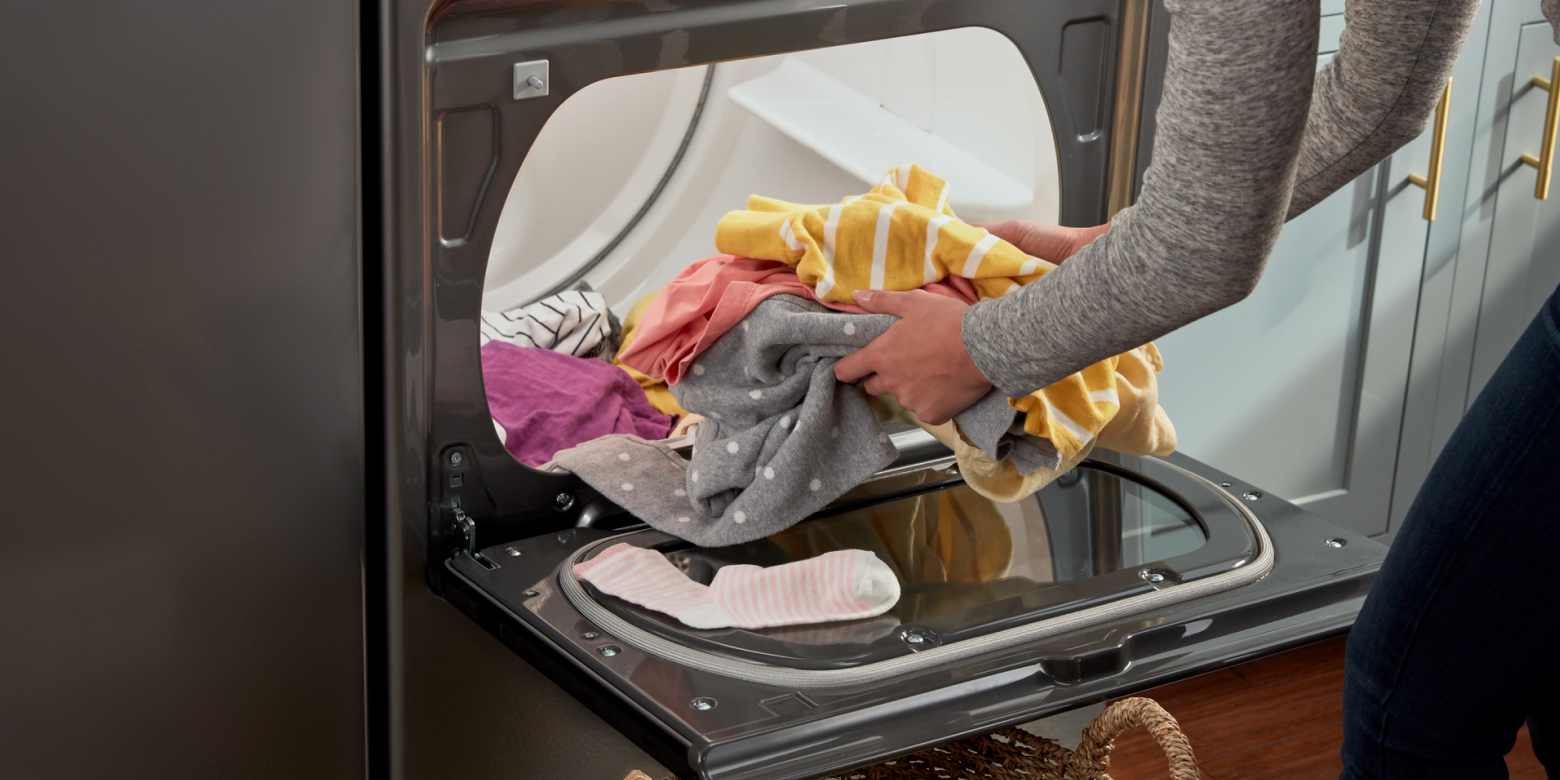

Machine drying vs. air drying delicates: Is one better than the other?
Air drying ensures a natural drying method without the risk of over drying clothes in a dryer. When drying your clothes, always refer to the care tag for the optimal drying cycles and settings, such as tumble, or air dry recommendations. If machine drying, be careful to avoid over drying in order to prevent clothes from shrinking. Air drying may be best to preserve the fabric and form when washing dress shirts, denim and wool garments.
Shop for Whirlpool® Washers and Dryers
Whirlpool® Washers and Dryers are designed to care for your family’s clothes in less time with less stress. Find the right laundry set with the right features and style to help you keep laundry day under control.
Was this article helpful? Pass it on
Get more laundry tips from Whirlpool


home heartbeat
Ready for more tips, home hacks and appliance guides?
Was this article helpful? Pass it on
1. Swash® detergent and the recommended brands are owned and distributed by Whirlpool Corporation
2. Based on an 8-lb load.

